Showing posts with label Sewing. Show all posts

Monday, April 10, 2017

Regency Morning Caps

This is probably the easiest project I have done for this play. These caps can easily be done in an afternoon. The tutorial is so simple that I almost wouldn't post it, except that I have been unable to find any similar tutorials online, and therefore people don't know just how easy it is. Being a new (since Christmas) member of the Jane Austen Society of North America (!!!), I attended a sewing party held in my region a few months ago. In addition to finishing my spencer and gushing over Colin Firth together, the kind lady hosting showed me a cap she had made and told me how she had done it. Following her instructions I made two. This tutorial shows how I made Lady Middleton's, patterned off of the cap of Jane Austen herself.

Charlotte wears a similar cap in the real 1995 Pride and Prejudice, made of all one kind of material. I made Mrs. Jennings and Mrs. Ferrars caps entirely of lace, like hers.


Materials:
Fabric circle with diameter of 17 inches
Strip of the same fabric 2" by 60" (the ruffle piece)
Coordinating or matching fabric strip 2" wide (the head band; see length below)
Needle and thread/sewing machine, pins


Instructions:
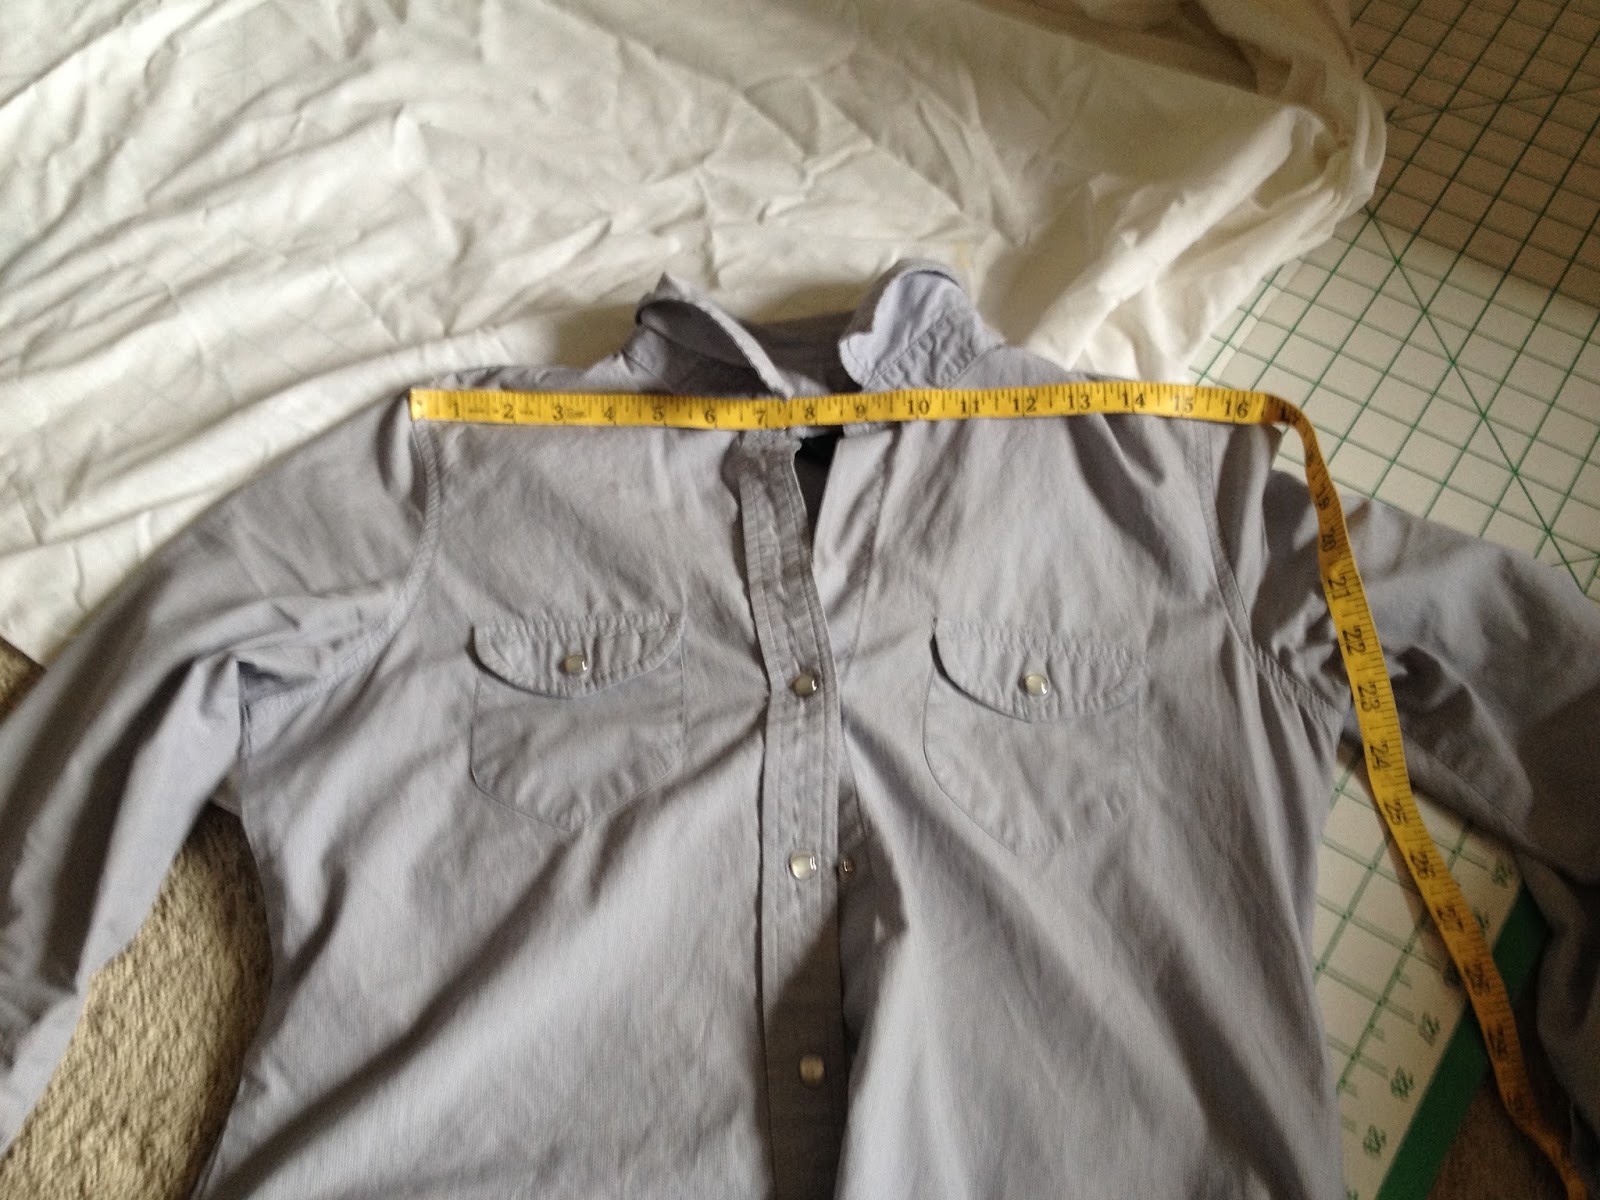
Measure around the crown of your head. Add 1 1/2 inches (in the hat shown, the green fabric is 26.5 inches long). This is how long your coordinating (or matching) fabric needs to be. This is your band.

Run two lines of gathering stitches (low tension and large stitches on a machine) along the edge of the fabric circle. The first line of stitches should be 1/2-5/8 inches from the edge, the second line 1/2-5/8 inches from the first line. N.B. one line of stitches will work as well, but I find doing two lines helps it gather more easily and evenly.
Double line of gathering stitches
Gather the circle to the band and pin right sides together as shown.


 Sew together.
Turn one edge of the ruffle piece over 1/4 inch and hem. Run a gathering stick along the other edge. Pin to the band, right sides together, as shown. Sew together. If the ruffle is wanting to stick up, lightly iron along the band.


Well, here ends the last of my Regency sewing posts (at least the ones pertaining to the play; now that I'll be wandering around the house wondering what to do I'm thinking of adding embroidery to the green dress shown above, and if so I will certainly give before and after pictures). Sense and Sensibility performed for the last time two days ago. This was my last performance with my homeschool drama group, too, as I graduate this spring. I am very excited to be going to the university in my home town this fall, as I know several good friends there and I'm glad I can continue to live at home. But 'tis bittersweet, too.
 photo awdursignature_zps319c67b7.png

Monday, March 27, 2017

Regency Tail Coats: The Back

I have just finished the seventh and last coat and thought I'd share some pictures of how some of them ended up; specifically, what I ended up doing with the back of them.
First, the finished coat I showed in the first post.
John Dashwood's coat was rather big on him. In the process of my research, I stumbled across this picture.
To me it looked kind of like there was just darts in the back, so to get it to fit better I added curved darts.


Mrs. Jennings' footman's coat was also too big for him, so I added darts to that as well. To both coats I added buttons. In the green livery I cut and hemmed a slit, but didn't bother to do so on Dashwood's.


Adding the gold cord to this coat was my final sewing project. I am quite pleased with the effect of the trim and the double breasted gold buttons.


The man playing Willoughby is of a large stature and I was afraid a normal suit jacket would look wrong on him. (Since tail coats were longer than our usual suit coat.) His jacket being one of the ones I cut straight across, I attached the two pieces cut off the front, onto the back, as shown.


It doesn't look good close up, but from the stage I hope it will look fine. I added two buttons to the back of this coat as well, but left the jackets belonging to Mr. Palmer, Edward, and Brandon plain.
I must say, I'm rather nervous about the costumes right now. If these coats look terrible it will be entirely my fault. If people don't understand the script, that'll be my fault too. I feel a great deal of pressure as the performance date approaches (a week from Thursday...!).


A Note on Cravats:
As I knew I would be making cravats for six gentlemen, I originally thought to write a post on the subject. However, once I had done a bit of research, the making and tying of a cravat was so easy that an entire separate post would be inane. I will just mention a few quick points:
  • To make my cravats, I simply cut a 10x80 piece of white cotton, hemmed it, and starched it. (Some cravats were triangular, I believe, but I decided to go with a rectangle.) The starch is very important.
  • This post was extremely helpful. Not only is it cool to see a modern guy who appreciates history and enjoys wearing cravats, at the bottom of the post you will find instructions for two knots.
  • Cravats in the Regency period were always white, to the best of my knowledge (at least, at evening events). In the late 1820s on, other colors began to be used as well. 
  • In addition to cravats and stocks, there was a thing called a jabot, which is basically a frill on a string (see here), which we so often admire on the amazing Sir Percy.


Although technically, I believe jabots were going out of fashion in the Regency era, I have decided to attach a lace ruffle to Robert Ferrar's cravat, as he is a fop and I hope it will emphasize this. As his actor also plays Mr. Palmer, to differentiate, I deviate from history again by making a black cravat for Mr. P. And, what pains me most, I believe he will be wearing a mustache as Robert. Sigh.


 photo awdursignature_zps319c67b7.png
SaveSaveSaveSave

Regency Bonnets (In Which I Announced My Current Career)

Well, it ends up I am not sewing a Regency dress after all, but I have acquired some more projects for various ladies in Sense. In short, I have become a milliner. Apparently my great-great grandmother owned a hat shop, which makes me feel curiously connected to her.
Lady Middleton shall be wearing a Regency turban for the ball, which I shall certainly post pictures of!
I am making two lace morning caps. I have made some mock ups, and will soon be sharing a step-by-step post on the making of the real one. For this post, however, I am sharing my most exciting project:

Materials:
Straw hat
Double bias tape
88"-90" of two inch ribbon, OR four-inch-wide strip of fabric 88-90 inches long.
White cotton fabric, about 19.25 inches by 20.5 inches
Decorative trim, fake flowers, more ribbons, etc. if desired

Instructions:
1. The Base. Cut the hat, as shown.


Next, open the bias tape and cover the edges of the hat. Sew on.


2. For Lack of Ribbon.
If you're using ribbon for your ties, skip this step. If using a strip of fabric, turn both of the long edges over about 1/4 inch and iron. Fold the strip in half lengthwise and iron. Sew along the edge so that the strip is closed. N.B. I bought 1/4 yard of 44" wide fabric and cut out two four inch wide strips, followed these steps and then sewed their ends together.
Hem the short edges of the fabric. You should now have a strip of fabric about two inches wide by 88 inches long, with no raw edges showing.


3. The Ties. 
Pin the strip of fabric onto the hat as shown. Sew to the hat. I just sewed along one long edge and both short edges and that was sturdy enough.


4. The Lining. 
Take the white cotton fabric and pin it along the top of the bonnet (from just below one point to just past the other point), folding the raw edge under. Of course, you're attaching a square edge to a round edge, so closer to the points, a lot is folded under. (My fabric was thin enough to be slightly sheer, so you can notice in the second picture below how much is folded under.) Sew along that edge.


Run a gathering stitch along the fabric at the edge of the crown of the hat, as shown above. This just helps it sit more nicely inside the hat. (Your line of stitches should be a semicircle from edge to edge.)
As you can see in the picture above, this leaves rather a lot of excess material at the bottom of the hat. In the picture below, I pushed the fabric inside the hat so that it was basically flat against the inside of the crown. Then, I snipped off the piece that I am holding in the picture below.


After snipping that bit off, I turned the edge under, kind of in pleats, as you can see in the next two pictures.


Sew along this edge. The lining should now be fully attached.


5. The Fun Stuff.
To cover up any not-so-straight lining or bias tape stitches, I added a decorative trim all along the inside of the hat.
From this point, what you do with the bonnet is up to you! I chose to go with a simple bow made of the same material as my ties, as seen in the first picture, but you could add flowers, more ribbons, etc.


A note on hat shape:
My straw hat was off the very stiff, flat variety. When I first put it on, I could tie it into proper shape but the ties then choked me. ; ) If you have a head form, you can steam it and reshape it, but alas I have no such thing. Since I just wanted the sides to curl in more, at some point it occurred to me that a clothes pin would do. I had it pinned like this for just over a week. Twice throughout that time I dampened the brim lightly with hot water. I found this to be quite successful.

Clothes pin: creative modern hat shaping technique!

The effect of the clothes pin after a week or so. Before this the hat was completely flat, now it curves on its own.

 photo awdursignature_zps319c67b7.png
SaveSave
SaveSave

Thursday, February 16, 2017

Spencer Jackets

As there is limited time for costume changes in the play (and limited dresses for the eleven girls involved), my twin and I were talking about how we give one dress a different look. Since we both love spencer jackets, that was an obvious thought. I had found a pattern several months back that I liked, but being a complete and utter cheapskate, was unwilling to pay $15 for one. My twin thought that it would be easy to just cut the bottom half off of a modern jacket, and sure enough, you can google tutorials for such a thing.
I bought a grey blazer (of a thin, completely-un-period 100% polyester material). I confess that when I get into a project, I just want to finish it, and I neglected to take pictures pre-chopping.
Converting a jacket into a spencer is quite easy — find one that has a top you like, try it on with your dress, and mark on the jacket where the waistline of the dress falls. Then add seam allowance!! I'm not sure if I neglected to do this, or simply failed to mark the waistline of my dress accurately, but when I had chopped and hemmed the jacket, I found that it was too short in the back. Happily, my twin suggested adding a ruffle, like this one:


I had saved the chopped off fabric, so I cut this in a semicircle, ran a gathering stitch along the flat edge, and played around with the look of the back until I was satisfied.

Ruffle pinned on; I also put darts in the back to help it fit me a bit better, as you can see by my bright white thread.


The back of the spencer; the white thread of the darts still show a little.
I then trimmed another piece from the leftover fabric, folded the edges over, and topstitched it onto the back. I like the idea of a jacket being authentic and hand sewn... but I figured its made out of a rather odd stretchy polyester anyhow, so being machine-sewed hardly makes a difference.

With an added band for a more finished look.
My favorite detail: the four cloth covered buttons of which I am quite proud.


If you have never tried taking a picture of your back, it is quite a difficult thing, I assure you.

Happy sewing!

 photo awdursignature_zps319c67b7.png
SaveSaveSaveSaveSaveSave

Friday, February 10, 2017

Regency Fichus (Actually Chemisettes)

Good afternoon, Miss Dashwoods, Bennets, Proudfeet: whoever may be reading.

After finishing the work on the first tail coat, my next object was to figure out how to make a fichu that would stay well for stage. What is a fichu? Kindly observe the next two pictures.


Do you notice the thin white material tucked into the neckline of each dress? That is a fichu. If any more experienced costumers are paying attention to this, correct me if I'm wrong, but from what I understand, a fichu is a triangular piece of fabric worn as above, whereas a chemisette is more similar to a dicky. See the next two pictures.


Sometimes they have a sort of shirt collar appearance, like Lydia's on the top left, or they may have a large ruff. 
Personally, I prefer the look of the fichu, but unfortunately, the few times I have worn one (that is, used a triangular lace shawl I had), it was extremely fussy. It tended to "ride up" and could only be adjusted in private. Obviously, not very practical for stage.


I found this image of a chemisette about a week ago, and decided to see if I couldn't cut something in that general shape, then mess around with the collar to get it to look more like a fichu.
This is what I did.


Jane, you'll notice, is wearing a fichu, but on the outside, as was also done.
Supplies:
About 2/3 of a yard of white cotton
Scissors
Straight pins
Pen
Cloth measuring tape

Instructions:

Measure from your shoulder to just below the bust (I did about ten inches). Double this number, and add an inch. This is the length measurement.
Measure a shirt from shoulder seam to shoulder seam. Add three inches to that.  This is the width measurement.

Starting from a corner of the fabric, mark 21 inches in one way, then nineteen inches the other way (these are my measurements).


Cut out this rectangle.
On the short end of the rectangle, start at the midpoint and cut straight up as far as your original measurement (for me, ten inches.)

Now measure the circumference of your neck. Divide this by 2π.  From the top of your cut, make a circle by marking the measurement around it. (See the picture.)


Cut out this circle. If you want, stop at this point and hem the raw edges. To make your chemisette have more of a fichu look, proceed.


Cut out two rough triangles as seen above. I put it on a messed around with it a bit do be sure it was comfortable and looked right.


Hem!


Random note, most of the good examples are from Sense and Sensibility (1995) and Pride and Prejudice (1995). These two movies are (to my knowledge, which I admit is not extensive) extremely accurate in costumes and hair, for both gentleman and ladies. Unfortunately I cannot say the same for their modern renditions (2005 and 2008, respectively). The inaccuracy of those two is somewhat shudder-worthy, actually. (WHY do the ladies wear their hair down???)

 photo awdursignature_zps319c67b7.png